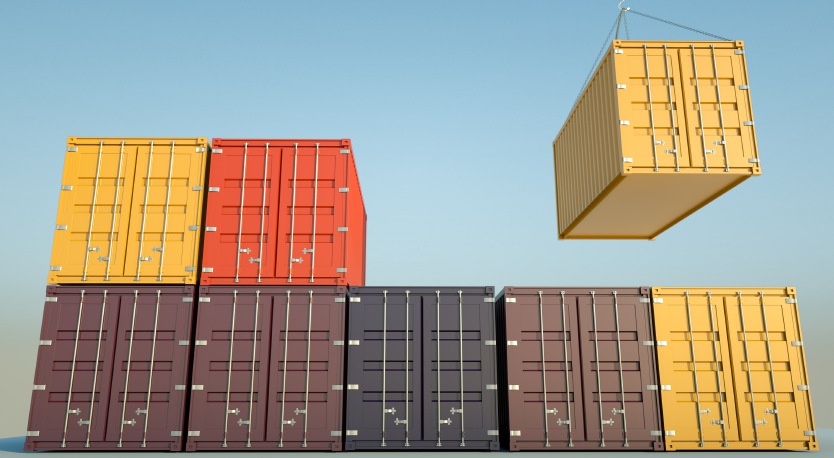
When it comes to the world of shipping containers, the floor plays a critical role. It's not just about having a solid ground beneath our feet; it serves as a foundation for the entire structure. Wear and tear are inevitable, especially when these containers are subjected to heavy usage over time. As such, shipping container floor replacement becomes an essential aspect of maintaining these versatile structures.
Often made from high-quality plywood or bamboo, container floors can withstand substantial weight and stress. However, like anything else under constant use, they too have a lifespan. Once we notice signs of damage whether it's severe staining, wood rotting or simply wear that compromises its structural integrity that's our cue to consider replacing them.
From cutting out the old flooring to installing new boards and ensuring they're securely fastened down: there's more than meets the eye in this process. Let us guide you through each step of how we replace a shipping container floor in an eco-friendly and efficient manner.
Compare Prices on Steel Shipping Containers
Understanding the Basics of Shipping Container Floor
While shipping containers, we can't underestimate the importance of a robust and well-maintained floor. It's the foundation that bears the brunt of heavy loads and constant traffic. Typically, these floors are made from marine-grade plywood-known for its durability and resistance to moisture.
Diving into specifics, you'll find that most shipping container floors are about 1.125 inches thick. They're designed this way to withstand a whopping weight capacity averaging around 55,000 pounds! However, not all containers boast such impressive numbers; it mostly depends on factors like their size and intended usage.

What sets marine-grade plywood apart is its special treatment process with chemicals including copper (Cu), chromium (Cr), and arsenic (As). This concoction ensures protection against pests like termites or beetles-a necessity when your container may end up traveling across various climates and terrains.
| Chemical Element | Purpose |
|---|---|
| Copper (Cu) | Wood preservative |
| Chromium(Cr) | Fixes copper in wood |
| Arsenic(As) | Insecticide |
Despite their strength though, shipping container floors aren't invincible. Over time they can suffer from wear-and-tear or damage due to mishandling or overloading. That's where floor replacement comes into play-a process which could extend your container's lifespan if done right!
While replacing a shipping container floor might seem daunting at first glance-we assure you it isn't an insurmountable task! With proper knowledge about materials required, steps involved, potential challenges-it becomes quite manageable indeed.
Just remember:
- Safety is paramount while handling tools & materials
- Always follow guidelines provided by manufacturers
- Never compromise on quality for cost savings
Stay tuned as we delve deeper into the how-to of shipping container floor replacement in our subsequent sections.
Common Issues with Shipping Container Floors
We've all seen those massive shipping containers, right? They're hardy, they're sturdy and they seem almost indestructible. But even these steel giants have their Achilles' heel their floors. It's not uncommon for the floors of these containers to face a variety of issues that can significantly affect their usability.
So what's going wrong underfoot? Well, one common issue is rotting. Most shipping container floors are made from plywood coated in a protective varnish or sealant. Over time and with continued exposure to the elements, this coating can wear away. When water then seeps into the unprotected wood, it can cause it to decay.
But wait there's more! Another significant problem we often see is damage caused by heavy loads. Containers are designed to carry hefty weights but even these workhorses have limits. Consistent overloading can lead to cracks in the flooring which, if left unattended, may eventually compromise its structural integrity.
And let's not forget about chemical contamination! These containers often transport goods treated with chemicals and pesticides that might leave residues behind on the floor surface. Over time, this build-up could pose health risks especially when repurposed for residential use.
To make matters worse, pests like insects and rodents find shipping container floors an ideal place for setting up home sweet home! They chew through wood and leave behind droppings that can further deteriorate the floor quality.
Now you might think "That sounds awful! What do I do if my container has one or more of these issues?" Don't fret we'll discuss solutions in another section of our article titled 'Shipping Container Floor Replacement'. Stay tuned!
Choosing Material for Shipping Container Floor Replacement
Let's dive right into the heart of the matter: choosing a material for your shipping container floor replacement. It's not a decision to take lightly, as it impacts both the durability and functionality of your container.
Primarily, there are three potential materials that we find ourselves recommending most often. The first is plywood, which is a popular choice due to its affordability and ease of installation. It's worth noting though, that while plywood might be cost-effective upfront, it may require more regular maintenance or earlier replacement than some other options.
Next up on our list is bamboo. This eco-conscious choice has grown in popularity over recent years due to its superior strength and resistance to moisture compared with traditional woods. Bamboo flooring can also add an aesthetic appeal if you're considering converting your shipping container into living space or an office.
Lastly, but certainly not least in consideration is steel. Durable, strong and extremely long-lasting these properties make steel an excellent candidate especially if heavy duty usage or high-traffic environment is anticipated.
While we've only covered three here today:
- Plywood
- Bamboo
- Steel
there are numerous other alternatives available including vinyl tiles and OSB (Oriented Strand Board). Each option comes with its own set of pros and cons including price point, durability, maintenance requirements among others so it's essential you consider your specific needs when deciding on what material will best suit your shipping container floor replacement project.
Step-by-Step Guide to Replace a Shipping Container Floor
Embarking on the adventure of replacing a shipping container floor, we're here to break it down for you. It's not as daunting as you might initially think and with our guidance, you'll have your container back in top shape before you know it.
First things first, we need to assess the damage. If there are only minor signs of wear and tear or small areas that have begun to rot, patch repairs could be sufficient. However, if the damage is widespread or severe maybe due to long-term water exposure we're looking at a full replacement job.
When conducting a full replacement, safety should always come first. We'll start by emptying out the container and removing any debris from underneath. Now comes the tough part tearing up the old flooring. Depending on what material was used originally (most often plywood), this can involve some hefty work with crowbars and hammers.
Once we've got rid of that damaged floor, it's time for preparation before laying down new material. This means cleaning up any remaining debris inside your shipping container and treating any rust spots with an appropriate anti-rust paint or primer.
Now comes laying down your new floor:
- Start by cutting your chosen material (again typically plywood) into appropriate-sized panels.
- Test fit these panels before securing them permanently.
- Once satisfied with their placement, secure them using screws through pre-drilled holes.
- Finish off by sealing all edges and joints with suitable sealant this will help prevent future moisture seepage into the wood.
Remember folks; patience is key when undertaking such a task! It's important not just for achieving great results but also ensuring personal safety throughout the process.
This step-by-step guide should provide enough insight for anyone considering shipping container floor replacement. But remember: consulting professional services can save both time and potential mishaps especially if it's your first time tackling such a project.
Conclusion: Maintaining Your New Shipping Container Floor
Having a new floor in your shipping container isn't just about the fresh look and feel. It's also about how you maintain it to ensure its longevity. Proper care and maintenance can significantly extend the life of your new floor, saving us time and money down the line.
One key aspect we'll need to keep an eye on is moisture control. High levels of humidity can lead to mold, which is both unsightly and unhealthy. Keep our shipping container well-ventilated, use dehumidifiers if necessary, and promptly deal with any leaks or spills.
Another important factor is regular cleaning. Dirt, debris, and other contaminants can damage our new floor over time-especially if they're abrasive or corrosive. Regular sweeping or vacuuming will help keep these at bay.
Don't forget that different flooring materials may require different care procedures:
- For wooden floors: They might need periodic refinishing.
- Concrete floors: These could benefit from sealing.
- Vinyl or linoleum floors: We should avoid harsh cleaners that might damage them.
Finally, consider using protective measures like mats or rugs in high-traffic areas to further reduce wear-and-tear on our new floor.
By following these guidelines for maintaining our new shipping container floor, we can ensure it'll stay looking great and functioning perfectly-for many years to come!
